
Hello Folks 👋
This is Savio here. I'm young dev with an intention to enhance as a successful web developer. I love building web apps with React. I have proved my superiority in frontend technologies.
Today, Let's learn how you can set up Phone Authentication with OTP in your React App 🚀. So, be with me! Let's code something amazing!
Table of Contents
Create React App
First of all, we first have to create a react app. You know it!
npx create-react-app firebase-auth
This will create you a normal react app. You can start the server by npm start. Now, lets have a look on our folder structure 🥁
src/
├── components/
       ├── Home.js
       └── SignIn.js
├── App.css
├── App.js
└── index.js
Inside the components folder, create 2 new files Home.js and SignIn.js, Home.js act as our home page, and SignIn.js is our register page.
Now, lets add some basic CSS styles to our App.css, this will be used soon ⬇️
@import url(https://fonts.googleapis.com/css?family=Poppins:100,100italic,200,200italic,300,300italic,regular,italic,500,500italic,600,600italic,700,700italic,800,800italic,900,900italic);

* {
  margin: 0;
  padding: 0;
  box-sizing: border-box;
}
body {
  font-family: "Poppins", sans-serif;
  background: #eee;
}

.wrapper {
  max-width: 580px;
  width: 100%;
  height: 100vh;
  display: flex;
  justify-content: center;
  align-items: center;
  flex-flow: column;
  padding: 1rem;
  margin: 0 auto;
}

.main-heading {
  color: #212121;
  text-transform: capitalize;
  margin-bottom: 0.5rem;
}
.sub-text {
  color: #424242;
  font-size: 15px;
}

.form-wrapper {
  width: 100%;
  text-align: center;
  padding: 1rem;
}

.input-field {
  display: flex;
  flex-flow: column;
  align-items: flex-start;
  width: 100%;
  padding: 0.5rem 0rem;
}
.input-field label {
  color: rgb(133, 133, 133);
  font-size: 14px;
}
.input-field input {
  width: 100%;
  padding: 0.75rem;
  border-radius: 13px;
  outline: none;
  background: #ffff;
  border: 2px solid #ccc;
  margin-top: 0.5rem;
  color: #000;
  font-family: inherit;
}
input:focus {
  border: 2px solid #2193b0;
}

.form-wrapper button,
.main-button {
  background: linear-gradient(to right, #2193b0, #6dd5ed);
  color: #fff;
  width: 100%;
  padding: 0.75rem;
  font-weight: 600;
  font-family: inherit;
  margin-top: 0.75rem;
  outline: none;
  border: none;
  border-radius: 13px;
  cursor: pointer;
  transition: all 0.3s ease;
}
.form-wrapper button:hover {
  opacity: 0.9;
}

.bottom-message {
  width: 100%;
  text-align: center;
  color: #ccc;
  margin-top: 2rem;
}
.bottom-message h5 {
  font-weight: 400;
}
.bottom-message h5 a {
  color: #fff;
  font-weight: 600;
  text-decoration: none;
}
Before, we go, we need to install our dependencies ⬇️
react-router-dom: Declarative routing for React
Firebase: Firebase provides the tools and infrastructure you need to develop, grow, and earn money from your app. This package supports web (browser), mobile-web, and server (Node.js) clients.
npm i firebase react-router-dom
That's All for the basic setup, lets jump right into setup firebase.
Setup Firebase
Here come the most important and the most amazing part, I'm sure you're gonna learn a lot!
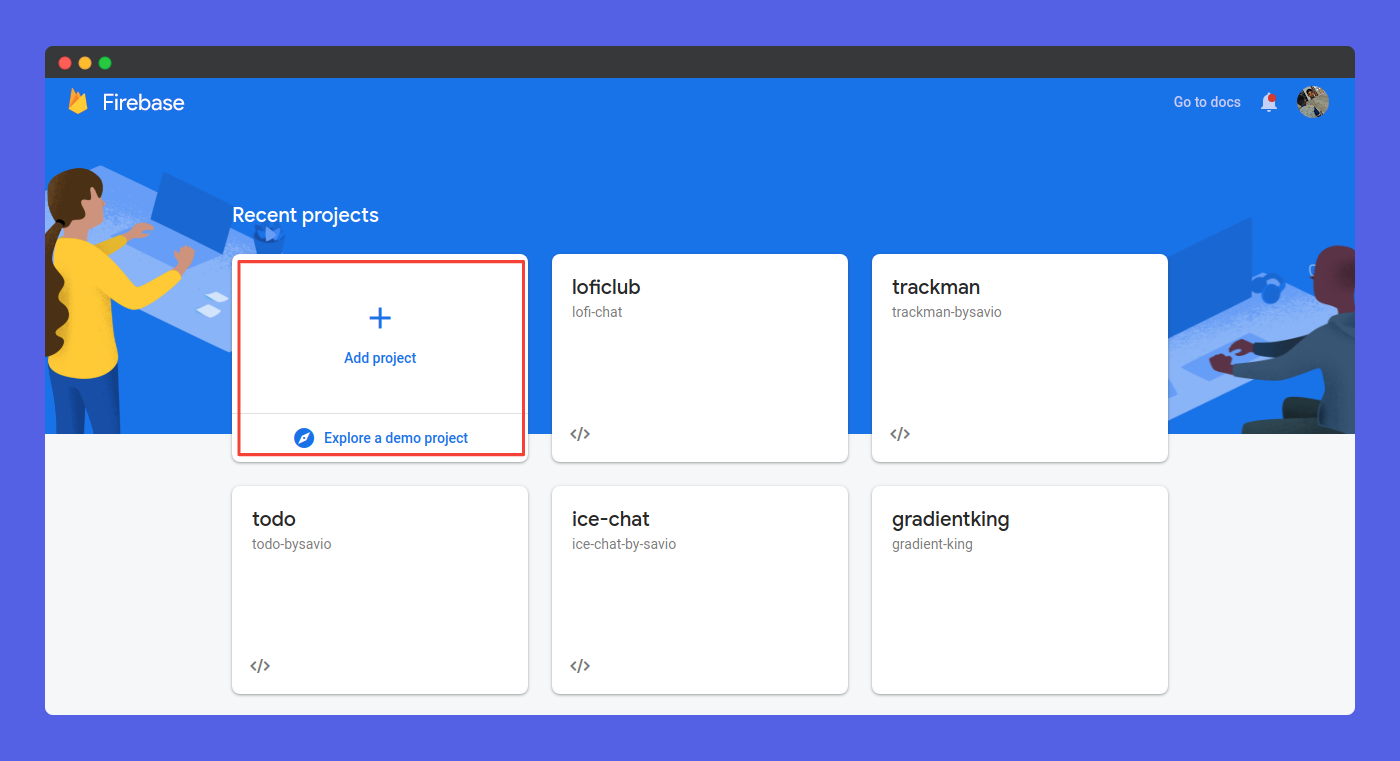
First of all, got to you firebase console, Create a new project. After creating a project, click on Web button to register your web app.

Now, go to Project Settings > Config to get your firebaseConfig. Make sure to copy that, you'll need later.
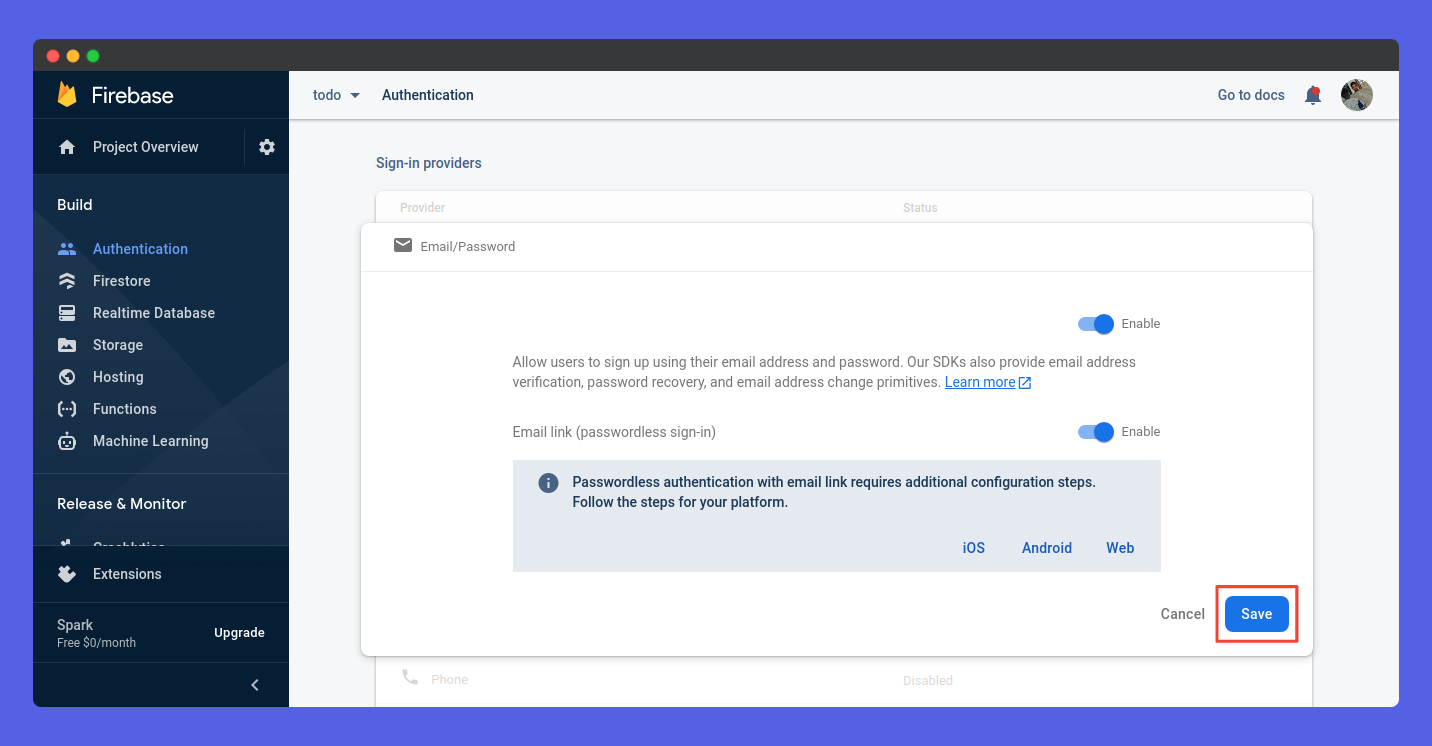
Now go to Authentication tab and enable Phone Authentication That's all that we need to do now. Let's just jump to writing code.
Handling SignIn
First of all, let's configure our project. For that lets' head over to App.js and use the following code ⬇️
const firebaseConfig = {
    apiKey: "XXXXXX",
    authDomain: "XXXXXX",
    projectId: "XXXXXX",
    storageBucket: "XXXXXX",
    messagingSenderId: "XXXXXX",
    appId: "XXXXXX",
    measurementId: "XXXXXX",
};

firebase.initializeApp(firebaseConfig);
That's all for the initialisation of firebase in our project. Now, lets extract auth method from firebase
const auth = firebase.auth();
Now, lets simply route our application. Here goes the code ⬇️
<Router>
    <div id="recaptcha-container"></div>
    <Switch>
        <Route path="/" exact>
            <Home />
        </Route>
        <Route path="/signin" exact>
            <SignIn />
        </Route>
    </Switch>
</Router>
Now, we can access our Home page on http://localhost:3000/ and SignIn page on http://localhost:3000/signin
To handle Phone Authentication, firebase asks you to add a recaptchaVerifier. I hope you have already seen a <div> with id of recaptcha-container was added to our project. This div act as our ReCaptcha Verifier. We can set it to visible or invisible, here I have made it invisible. It works behind the scenes 👀
useEffect(() => {
    window.recaptchaVerifier = new firebase.auth.RecaptchaVerifier(
        "recaptcha-container", {
            size: "invisible",
            callback: function(response) {
                console.log("Captcha Resolved");
            },
            defaultCountry: "IN",
        }
    );
}, []);
And now, we can use our recaptchaVerifier by window.recaptchaVerifier. It will be accessful to us ✌️
Now, lets create our SignIn.js component ⚡️
import React from "react";

const SignIn = ({ loginSubmit, otpSubmit, viewOtpForm }) => {
  return (
    <div className="wrapper">
      <h1 className="main-heading">Sign in</h1>
      <p className="sub-text">Sign in using your mobile number.</p>
      {!viewOtpForm ? (
        <div className="form-wrapper">
          <form id="loginForm" onSubmit={loginSubmit}>
            <div className="input-field">
              <label>Phone Number</label>
              <input
                type="text"
                placeholder="Phone"
                name="phone"
                autoComplete="false"
              />
            </div>
            <button className="main-button" type="submit" id="sign-in-button">
              Sign in
            </button>
          </form>
        </div>
      ) : (
        <div className="form-wrapper" onSubmit={otpSubmit}>
          <form id="otpForm">
            <div className="input-field">
              <label>Enter OTP</label>
              <input
                type="number"
                placeholder="One time password"
                name="otp_value"
                autoComplete="false"
              />
            </div>
            <button className="main-button" type="submit">
              Verify OTP
            </button>
          </form>
        </div>
      )}
    </div>
  );
};

export default SignIn;
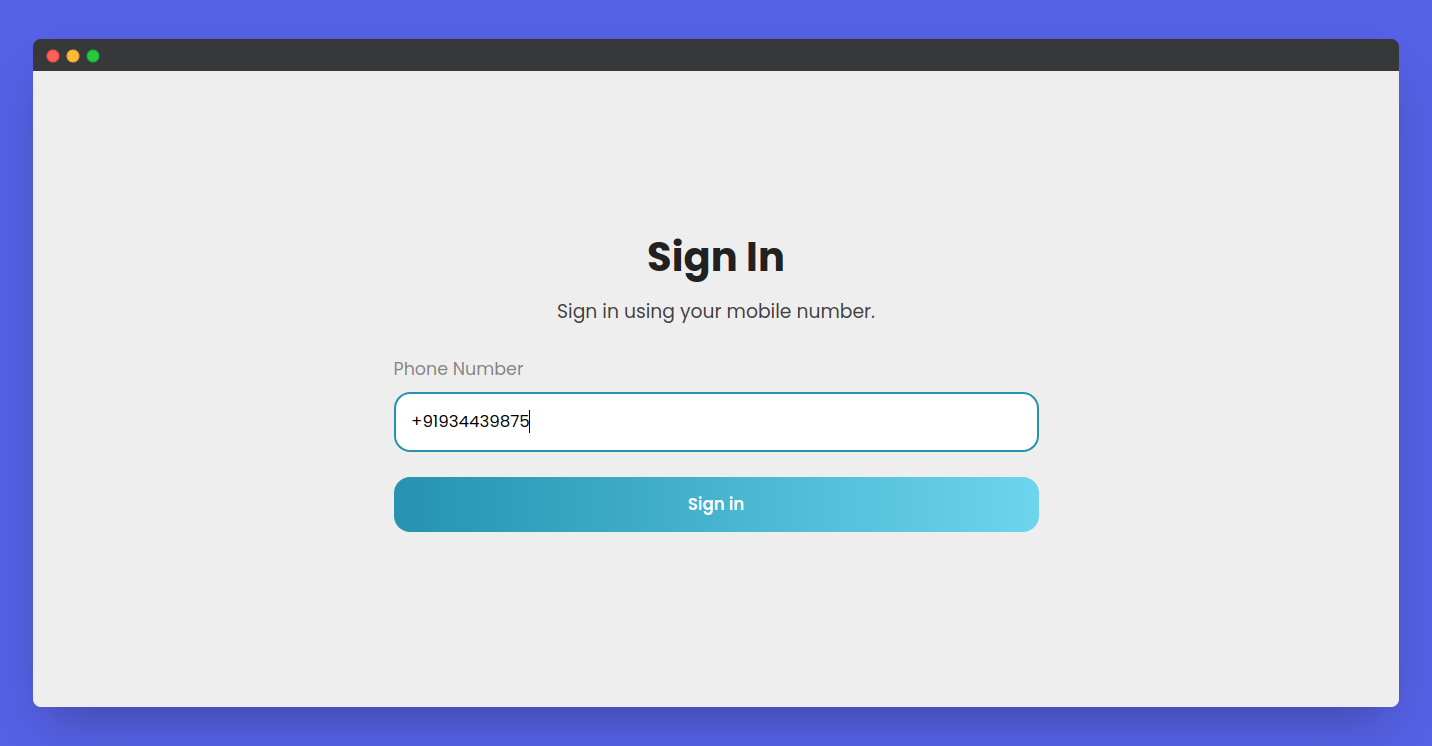
Here is how it looks 👇
Here we can see, we have used 3 variables from the App.js. loginSubmit, otpSubmit, andviewOtpForm. You can also see that if viewOtpForm is false, then show loginForm or show OtpForm. For that, we're use an useState hook 👇
const [viewOtpForm, setViewOtpForm] = useState(false);
So, our next step is to handle the submit of login form and then, show our otp form. So, here goes the code ✌️
const loginSubmit = (e) => {
    e.preventDefault();

    let phone_number = e.target.phone.value;
    const appVerifier = window.recaptchaVerifier;

    auth
        .signInWithPhoneNumber(phone_number, appVerifier)
        .then((confirmationResult) => {
            // SMS sent. Prompt user to type the code from the message, then sign the
            // user in with confirmationResult.confirm(code).
            console.log("otp sent");
            setViewOtpForm(true);
            window.confirmationResult = confirmationResult;
            // ...
        })
        .catch((error) => {
            // Error; SMS not sent
            // ...
            alert(error.message);
        });
};
Verifying OTP
Here you can see we are setting confirmationResult, so that it can be used for checking whether the otp is correct. ✅️ Here goes the code for verifying otp👇
const otpSubmit = (e) => {
    e.preventDefault();

    let opt_number = e.target.otp_value.value;

    window.confirmationResult
        .confirm(opt_number)
        .then((confirmationResult) => {
            console.log(confirmationResult);
            console.log("success");
            window.open("/", "_self");
        })
        .catch((error) => {
            // User couldn't sign in (bad verification code?)
            alert(error.message);
        });
};
Hold on friends, we're almost done 👍. Now, lets handle the user that we get after the verification. For that, let us create a useState hook.
const [user, setUser] = useState([]);
And then, whenever auth state changes, check if user is available, if yes, add it to our hook. Here goes the code ⬇️
auth.onAuthStateChanged((user) => {
    if (user) {
        setUser(user);
    }
});
Now, we should send these functions to our SignIn.js, for that, lets change ⬇️
<Route path="/signin" exact>
    <SignIn loginSubmit={loginSubmit} otpSubmit={otpSubmit} viewOtpForm={viewOtpForm} />
</Route>
That's all folks 🎉, we can now create a user. If we test the app, we can after verifing otp, we're redirected to http://localhost:3000/ our home page. That's pretty much it.
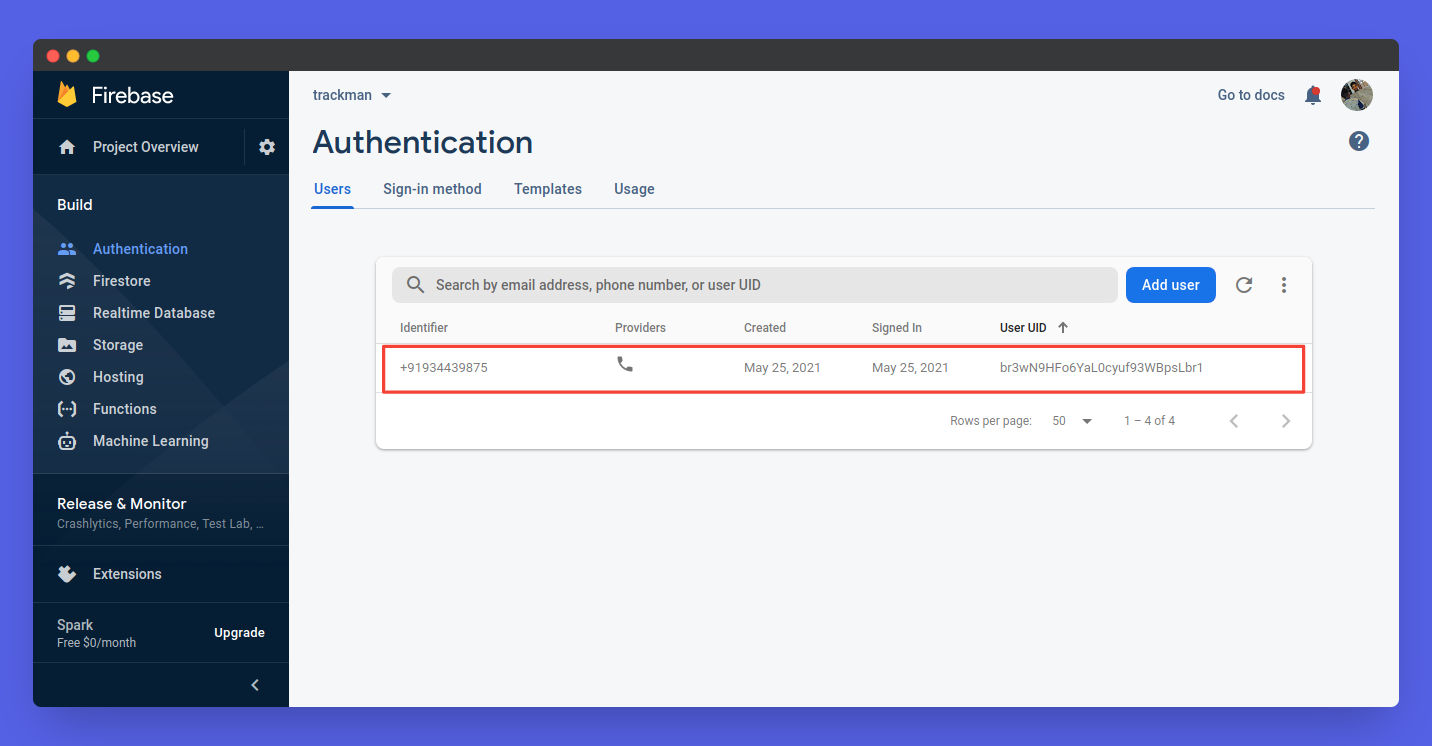
Here is what we could see in our firebase console. That means we could now successfully register a user ✅️ now, lets handle signOut for our Home.js
Handling SignOut
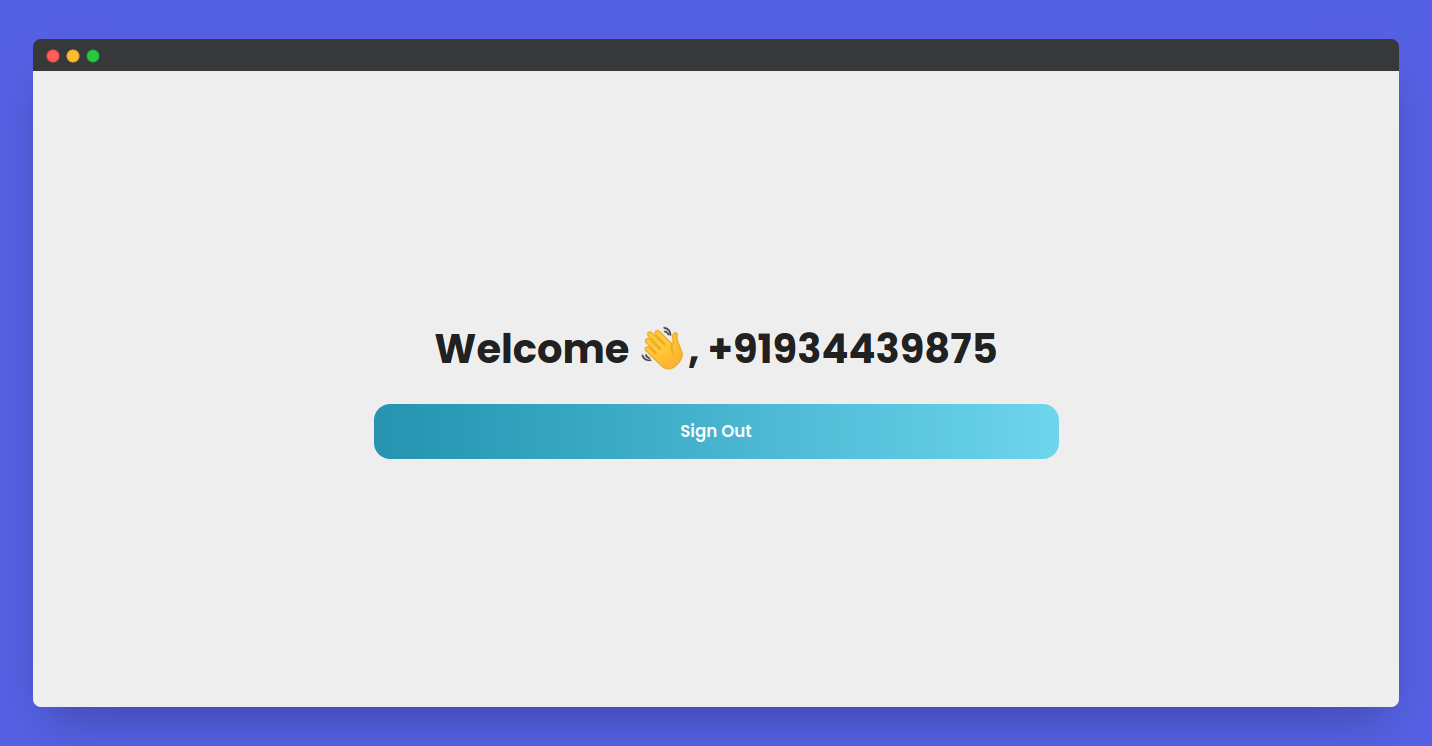
First of All, lets design our Home.js, It's pretty simple. Here is the code ⬇️
import React from "react";

const Home = ({ signOut, user }) => {
  return (
    <div className="wrapper">
      <h1 className="main-heading">Welcome 👋, {user.phoneNumber}</h1>
      <button className="main-button" id="signOut" onClick={signOut}>
        Sign Out
      </button>
    </div>
  );
};

export default Home;
Here is how it looks 😎
In Home.js, we're using 2 variables from the parent, that is, signOut and user. Now, lets create our signOut function. 👇
const signOut = () => {
        auth
        .signOut()
        .then(() => {
            window.open("/signin", "_self");
        })
        .catch((error) => {
            // An error happened.
            console.log(error);
        });
};
Firebase already has a signOut() function for auth, we just have to call it. And after signing out, just redirect to http://localhost:3000/signin
Now, let's pass this to our Home.js, here goes the code ⬇️
<Route path="/" exact>
    <Home signOut={signOut} user={user} />
</Route>
Testing Up
Now, lets test up everything, first lets go to http://localhost:3000/signin, enter our phone number with country code, eg: +91934439875, now, we'll get an otp, here is how it looks 👇
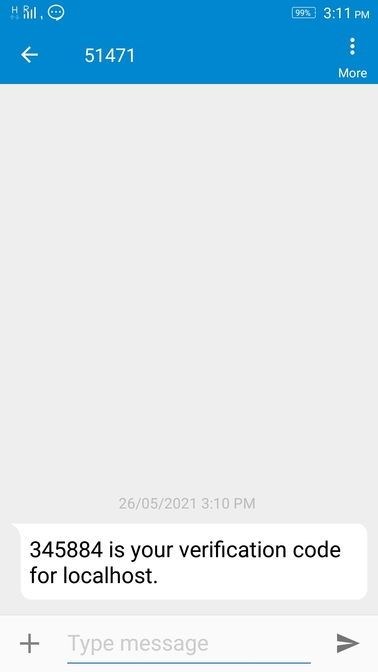
Yep ✅️, and then, if we verify it, we are redirected to the homepage and we could see our number 📳
Congrats 🥳, you done it! You just learnt to use phone authentication with otp for your app, now, feel free to use this knowledge 👀
Here is the complete code for the project - github.com/saviomartin/firebase-auth-methods, Make sure to 🌟 the repo.
👀 Wrapping Up
Yeah, that's a wrap. Hope you enjoyed the article. Do not hesitate to share your feedback. I am on Twitter @saviomartin7. Give a follow!
Follow me on Github @saviomartin, Don't miss my amazing projects! 💯
Feedbacks are greatly appreciated! 🙌 Have an amazing day!
🌎 Lets connect
🙌 Support
If you're enjoying my blog, consider buying me a coffee ☕️, it will help me a lot!
{% buymeacofee saviomartin %}