Hello Folks 👋
This is Savio here. I'm young dev with an intention to enhance as a successful web developer. I love building web apps with React. I have proved my superiority in frontend technologies.
Today, I'll show you the easiest and the fastest way to set up Google, Github and Facebook Authentication in your React App 🚀. So, be with me! Let's code something amazing!
Table of Contents
- Create React App
- Setup Firebase
- Google Authentication
- Facebook Authentication
- Github Authentication
- Testing Authentication
Create React App
First of all, we first have to create a react app. You know it!
npx create-react-app firebase-auth
This will create you a normal react app. You can start the server by npm start. Let's add some basic styles to App.css which will be helpful later. Here goes the code 👇
* {
  margin: 0;
  padding: 0;
}
.App {
  height: 100vh;
  width: 100%;
  background: #4954ca;
  display: flex;
  align-items: center;
  justify-content: center;
}
button {
  padding: 13px 17px;
  margin: 3px;
  border-radius: 5px;
  border: 3px solid #323381;
  font-size: 19px;
  cursor: pointer;
  background: #fff;
  color: #323381;
}
It will also good if you remove unwanted files from the src/ folder making your app clean to use! That's all, let's just jump on to the next and the most important part.
Setup Firebase
Here come the most important and the most amazing part, I'm sure you're gonna learn a lot!
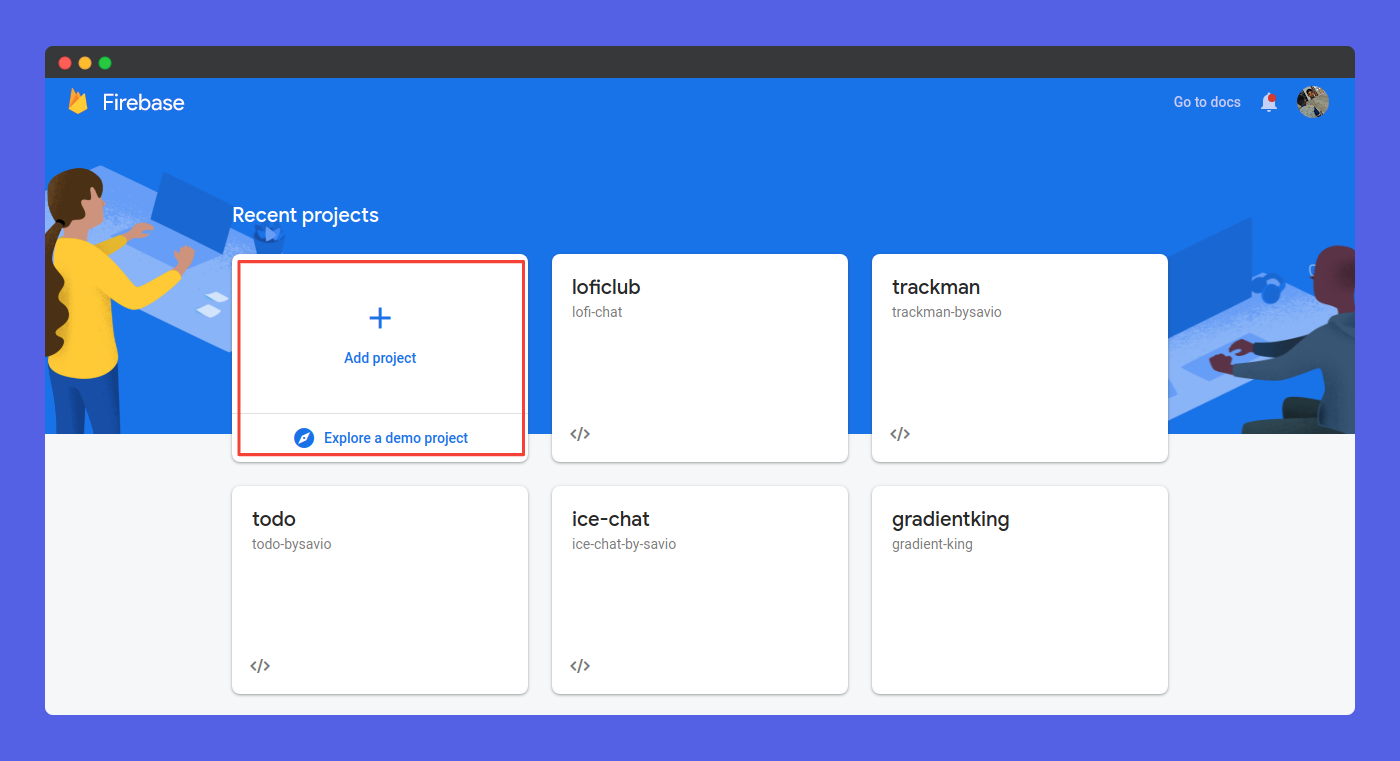
First of all, got to you firebase console, Create a new project. After creating a project, click on Web button to register your web app.
Now, go to Project Settings > Config to get your firebaseConfig. Make sure to copy that, you'll need later.

Now go to Authentication tab and enable it. We'll do the rest in the next part. That's all what we need to do now. Lets just jump to writing code.
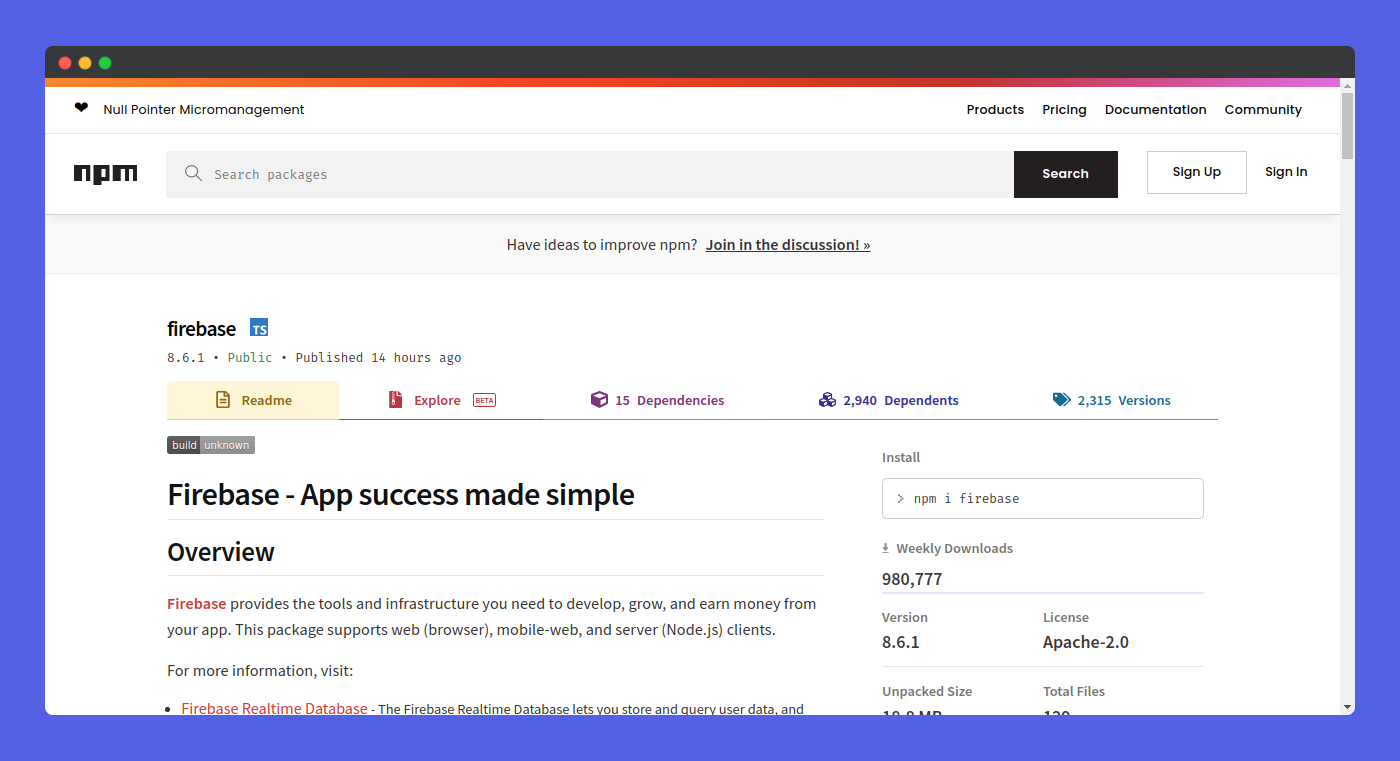 First, lets install our only one npm module - Firebase
npm install firebase
After, installing firebase, let's set up our folder structure. We need to create 2 new folders, service and config. Here goes the folder structure 👇
src/
├── config/
       ├── authMethods.js
       └── firebase-config.js
├── service/
       └── auth.js
├── App.css
├── App.js
└── index.js
We can now jump straight onto config/firebase-config.js, here we can paste our firebaseConfig we got earlier. Here goes the code 👇
import firebase from "firebase";

const firebaseConfig = {
  apiKey: "AIzaSyArMcPSmKPHef7JkoCMC_sa0pwIAZUlciA",
  authDomain: "todo-bysavio.firebaseapp.com",
  projectId: "todo-bysavio",
  storageBucket: "todo-bysavio.appspot.com",
  messagingSenderId: "190049626154",
  appId: "1:190049626154:web:51016ff378a1e80c1ffb53",
  measurementId: "G-5HNJBKNDK9",
};

firebase.initializeApp(firebaseConfig);
firebase.analytics();

export default firebase;
Now, lets create our Auth Methods for that, we can jump to config/authMethods.js. In this blog, we are using 3 auth methods, Google, Facebook and Github. So, here is the code for it 👇
import firebase from "./firebase-config";

export const facebookProvider = new firebase.auth.FacebookAuthProvider();
export const githubProvider = new firebase.auth.GithubAuthProvider();
export const googleProvider = new firebase.auth.GoogleAuthProvider();
Yeah, that's all for the config, let's just jump to our next folder, service. Inside service/auth.js, we're gonna just create a function that takes provider as the parameter. It will also make our code clean and remove duplication of the same. Here is the code 👇
import firebase from "../config/firebase-config";

const socialMediaAuth = (provider) => {
  firebase
    .auth()
    .signInWithPopup(provider)
    .then((res) => {
      return res.user;
    })
    .catch((err) => {
      return err;
    });
};

export default socialMediaAuth;
Now, let's jump to our App.js, It acts as our home component. It is pretty simple, it just renders our home page. In App.js, we are importing our 3 methods from config/authMethods, we just created. Here are the three methods 👇
import {
  facebookProvider,
  githubProvider,
  googleProvider,
} from "./config/authMethods";
App.js
import socialMediaAuth from "./service/auth";
import "./App.css";
import {
  facebookProvider,
  githubProvider,
  googleProvider,
} from "./config/authMethods";

function App() {
  const handleOnClick = async (provider) => {
    const res = await socialMediaAuth(provider);
    console.log(res);
  };
  return (
    <div className="App">
      <button onClick={() => handleOnClick(facebookProvider)}>FaceBook</button>
      <button onClick={() => handleOnClick(githubProvider)}>Github</button>
      <button onClick={() => handleOnClick(googleProvider)}>Google</button>
    </div>
  );
}

export default App;
Now, that's it in the code part. We can say the code part is completed 🥳. We have a lot to set up to make everything work. So, let's now jump to setup our Google authentication.
Google Authentication

Google authentication is the easiest auth, you simply have to go to Authentication tab, click on the Enable button, right next to it. Type your App name and email, finally click on Enable button. That's pretty much it! Like I said, this is the
Facebook Authentication
Facebook Authentication is most hardest part if this blog. It seems hard, don't just leave you're gonna learn much. Be with me.
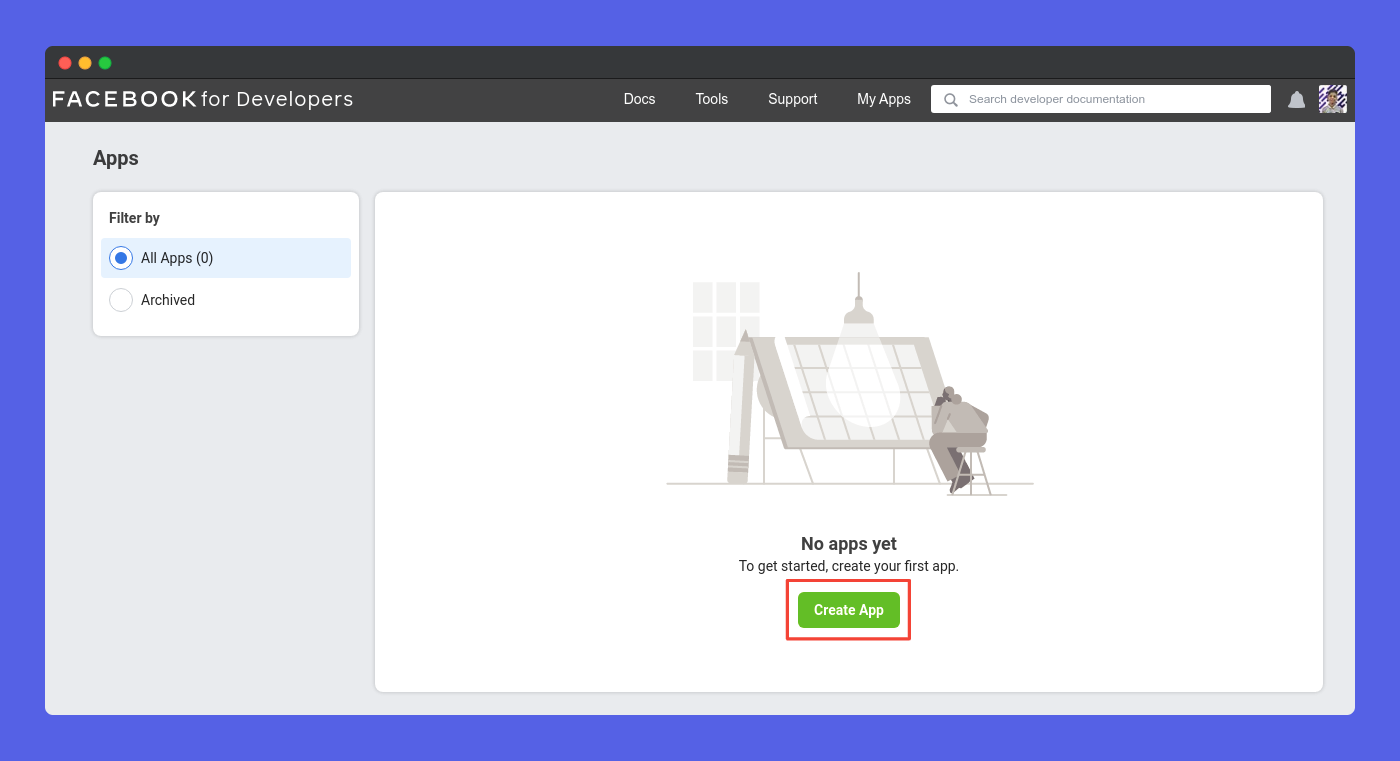
First of all, go to developers.facebook.com. SIgn In with your Facebook account. After Signing In, you'll be redirected to this page where you could create a new app. Click on Create App to create a new app.
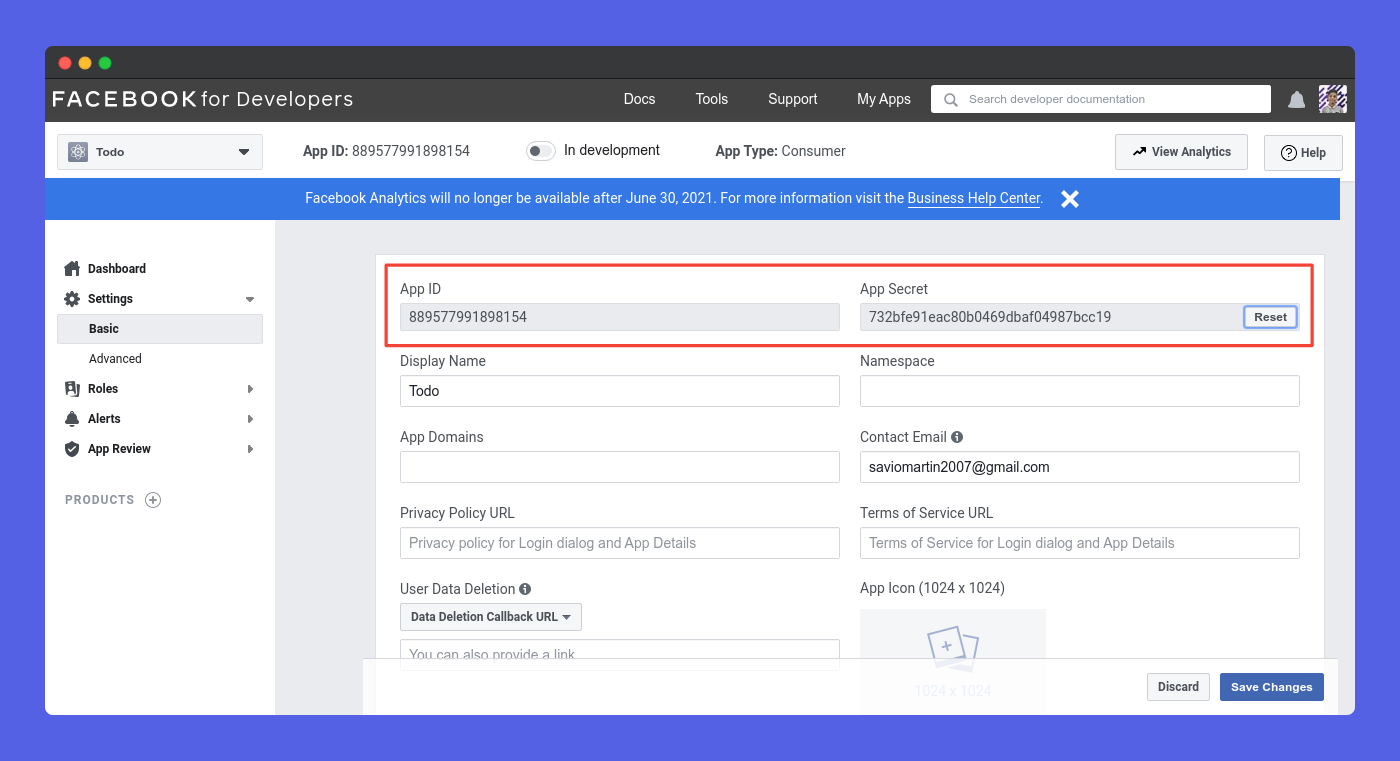
Enter your app details, and create a new app. After creating a new app, go to Settings > Basic, here you could get your App Id and App Secret
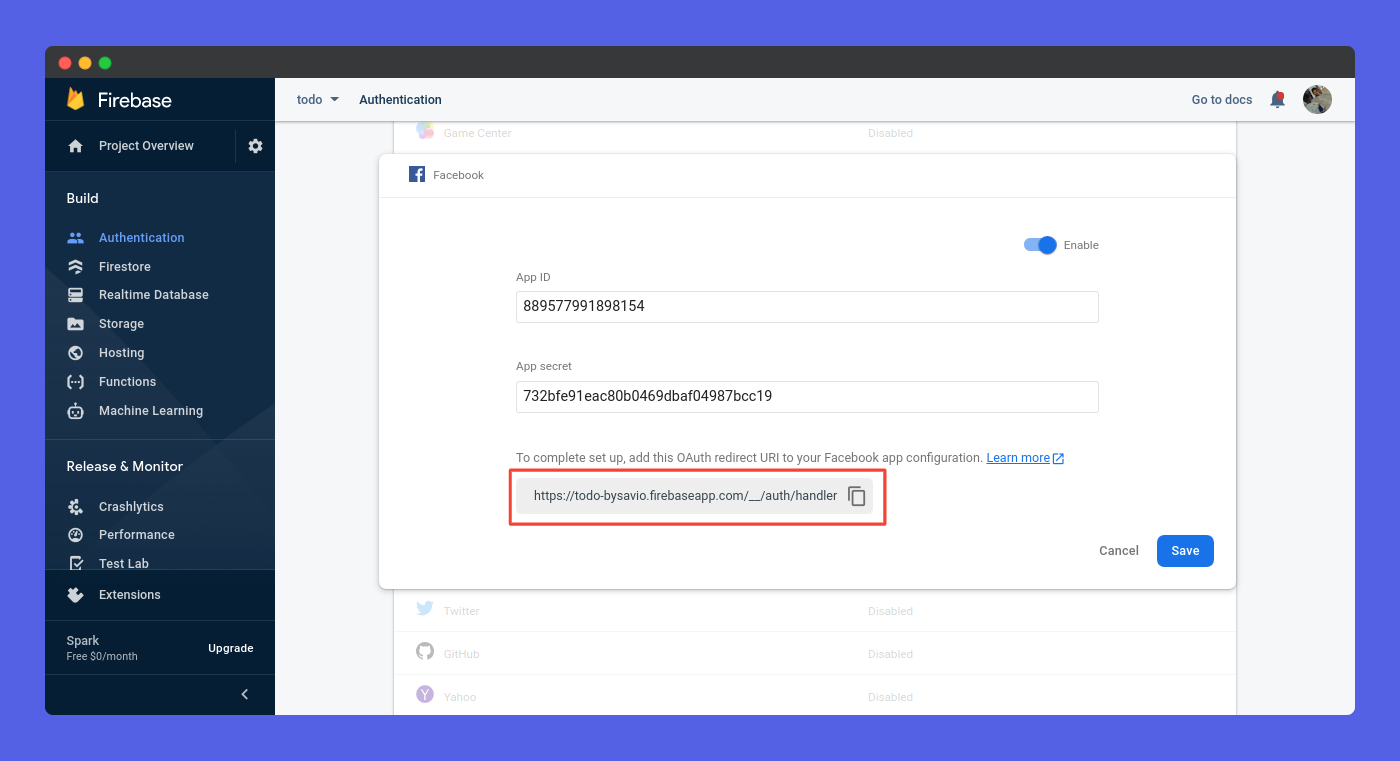
Now, we need to go to our firebase console. Inside our app, go to the Authentication tab, near Facebook, click on the Enable button, right next to it. Enter your App Id and App Secret. Before clicking save, make sure to copy your redirect URL. It is very much necessary to make your authentication complete.
Now, go to the Products tab, click on the Plus Icon, choose Authentication. This will create a new authentication method.
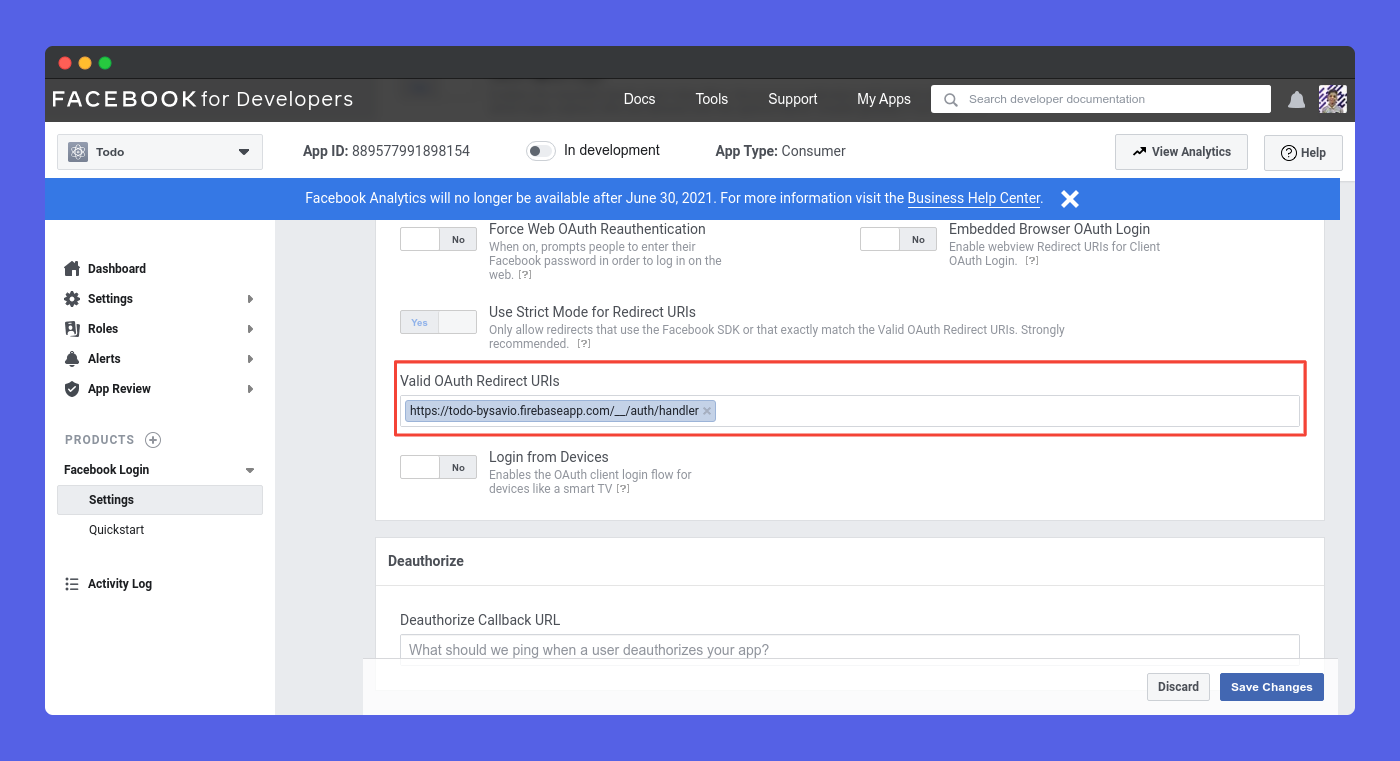
Now, you can see a new tab Facebook Login under products. Click on it and scroll a bit to Valid Oath Redirect URIs, here you can now paste the link you copied. That's pretty much it! Facebook Authentication is completed! Well done 🍻
Github Authentication
So, here comes the last part of Authentication. The most amazing Github authentication is here. So, to create GitHub authentication, first Sign In to your Github account. Go to your settings.
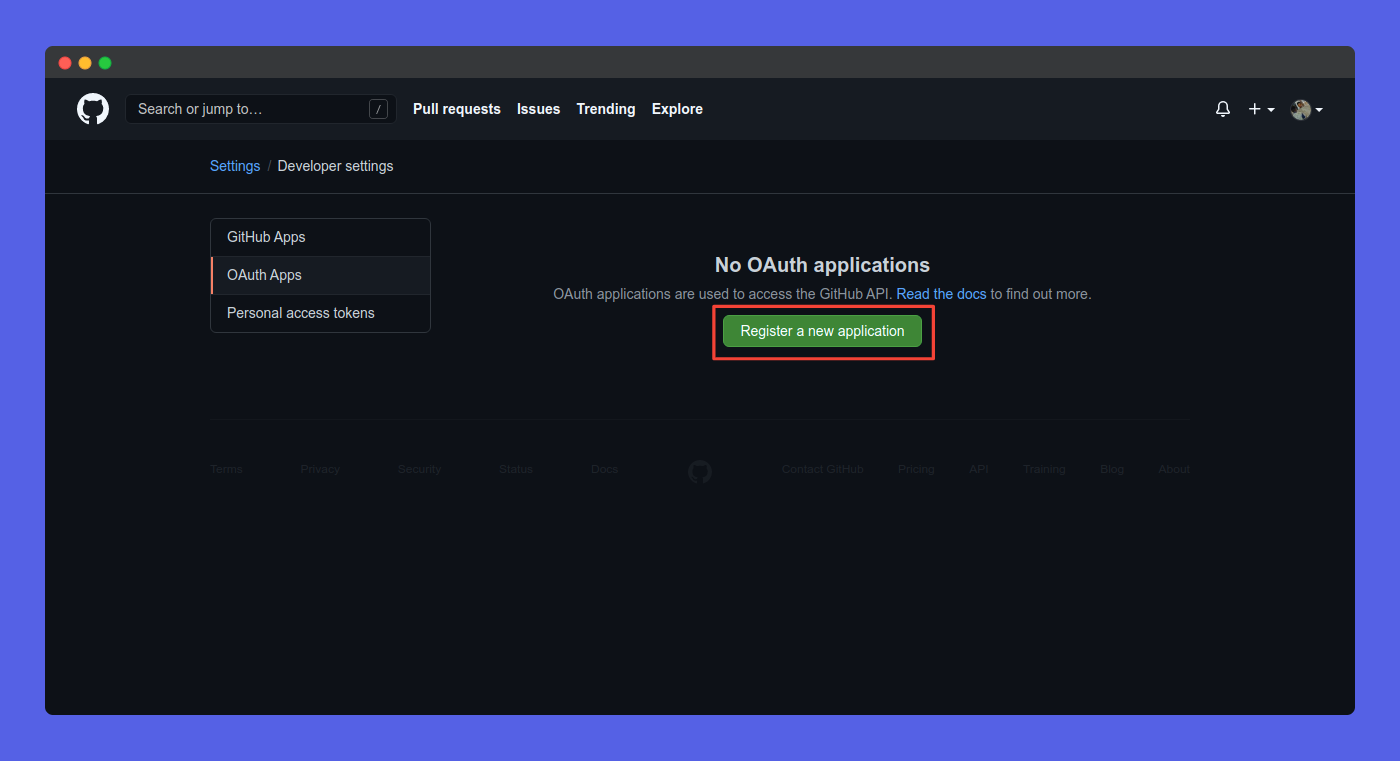
From Settings, go to Developer Settings > OAth Apps. Click on Register a new application button to create a new OAth app.
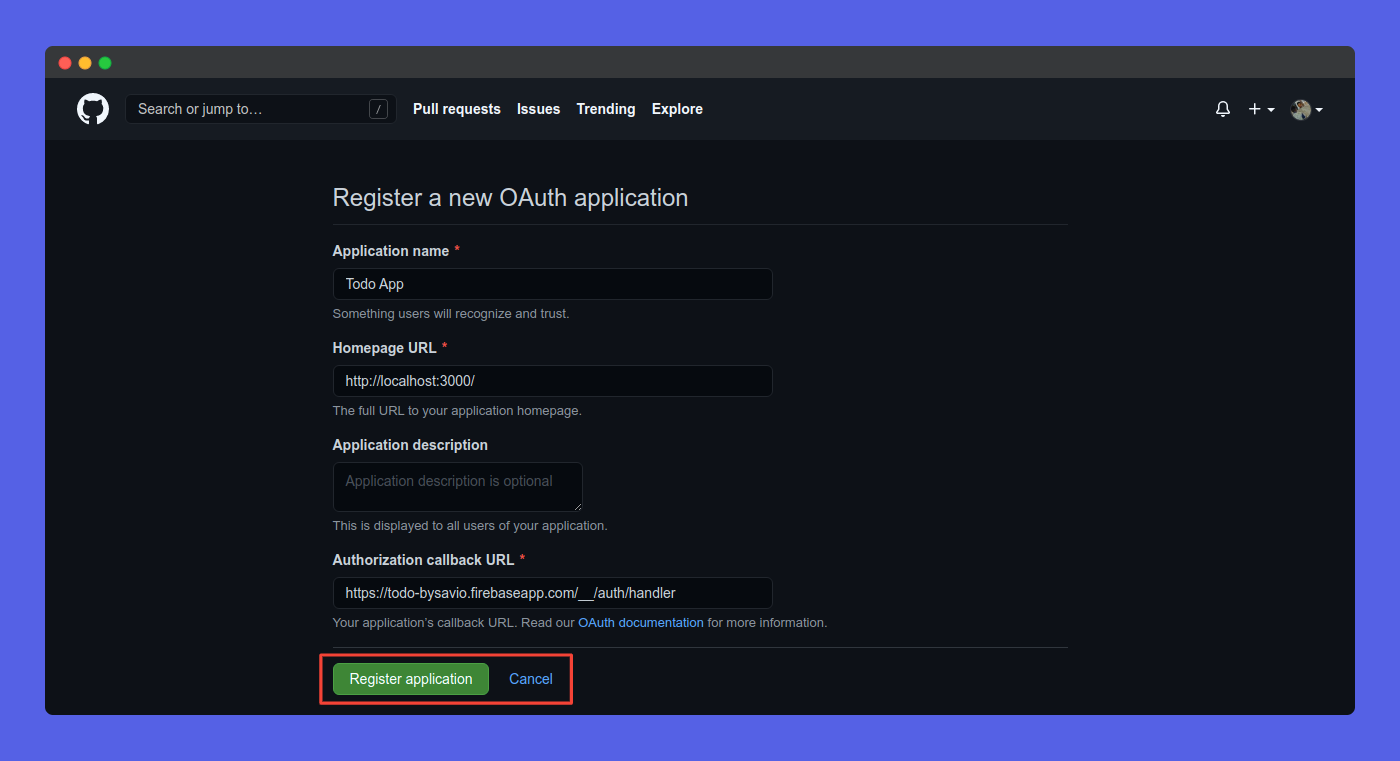
Enter your app details and click on Register Application to create a new app.
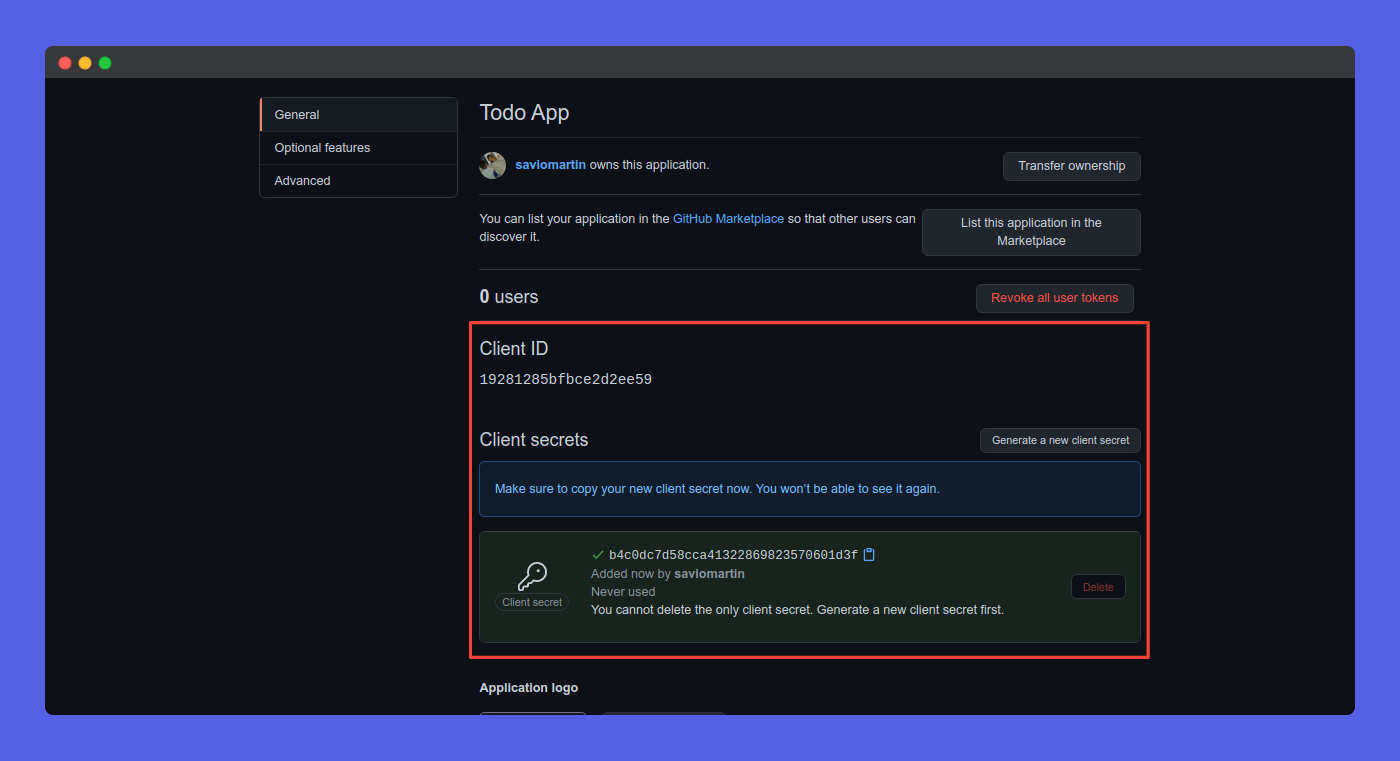
Now, you will be redirected to a page where you get your App Id and Client Secret. Copy both of them.
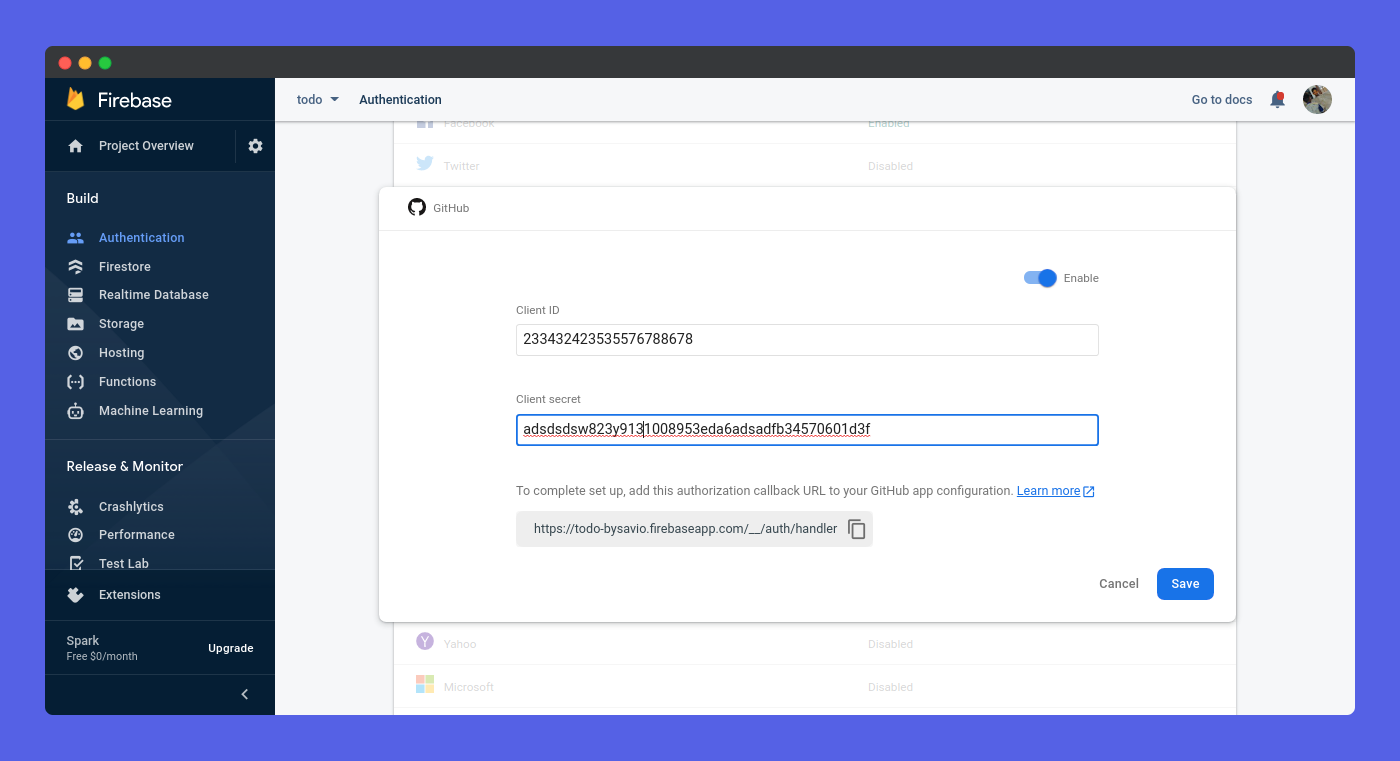
Now, In your firebase app console, go to Authentication tab, click on the Enable button, next to Github. Enter your App Id and Client Secret. Before clicking Save, copy your redirect URL, you need it to complete the authentication.
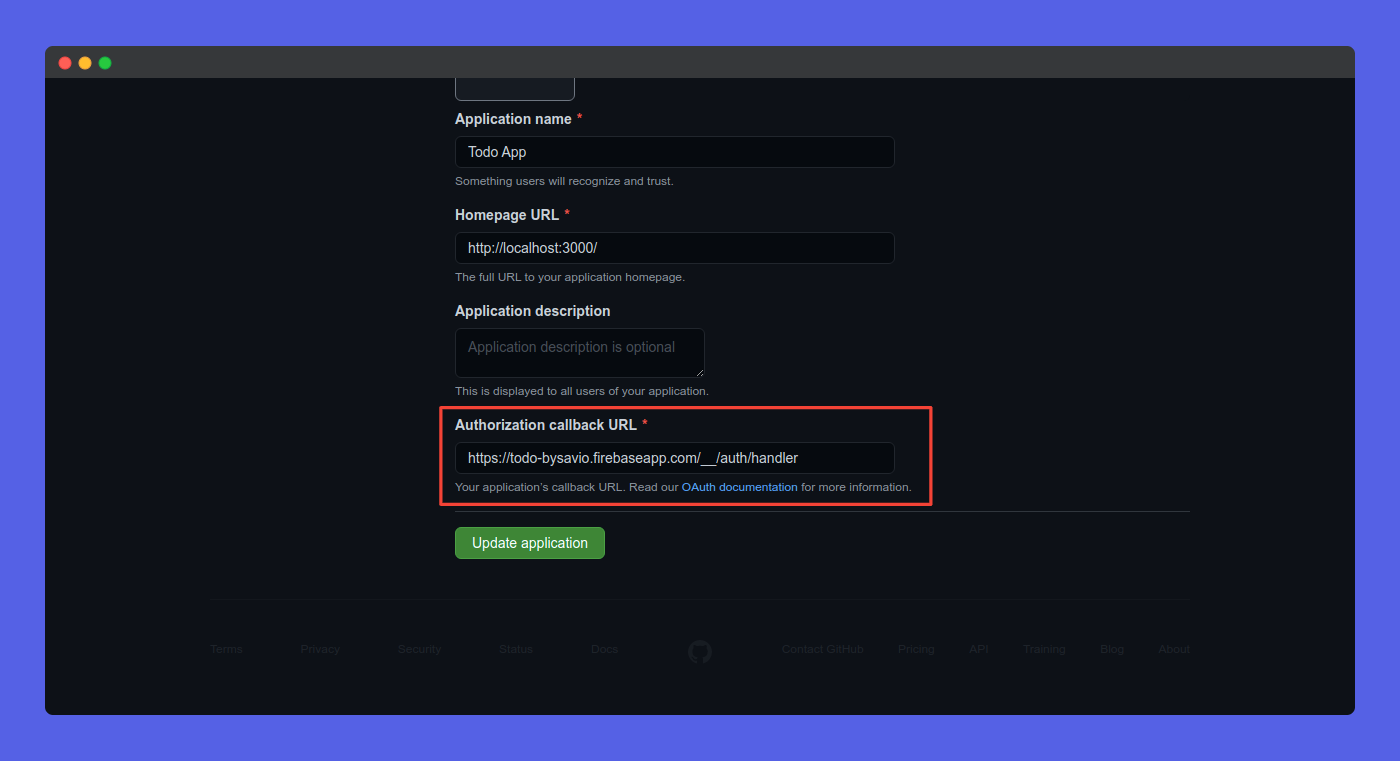
Now, go back to your GitHub Oath app, scroll a bit and paste the link in the Authorization callback URL. That's pretty much it. Thanks for being with me. We have finally completed it. Now, its time for testing ✨️
Testing Authentication
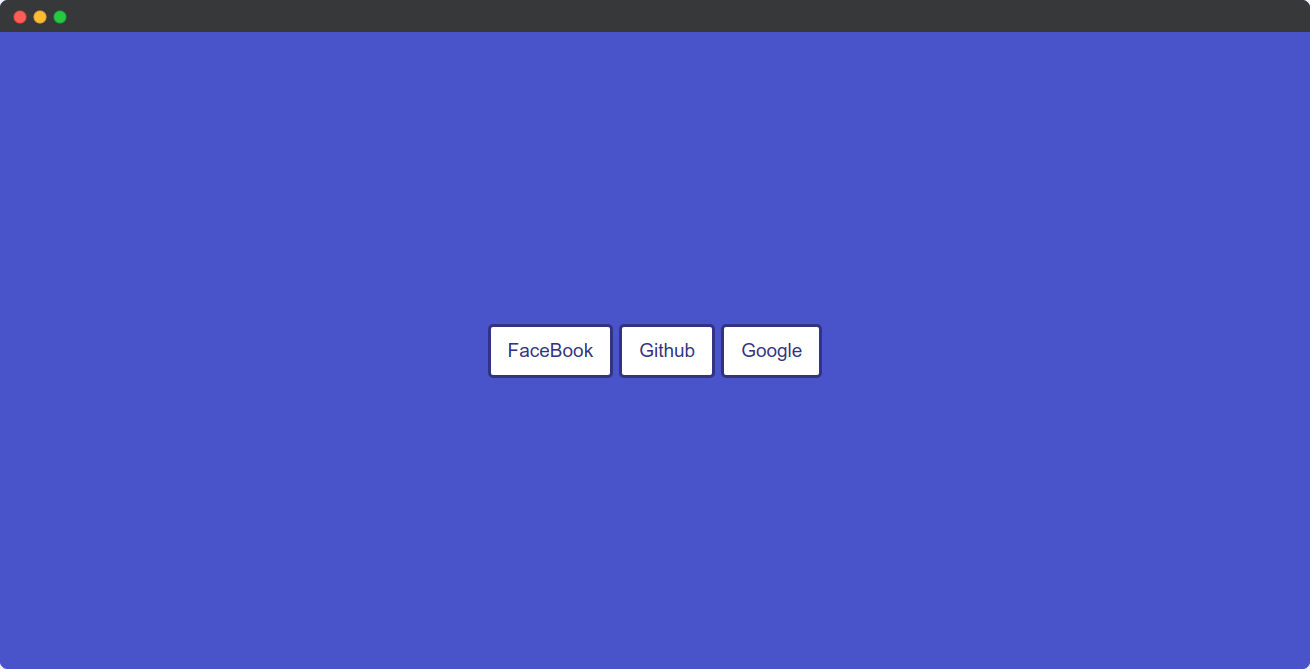
Now, that's it. We just need to test it. Here is how our app looks now ☝️. We have created auth in such a way that if a user is signed in, it will console.log(user) or if an error happens `console.log(err). So, let's just check it out!
Google Authentication
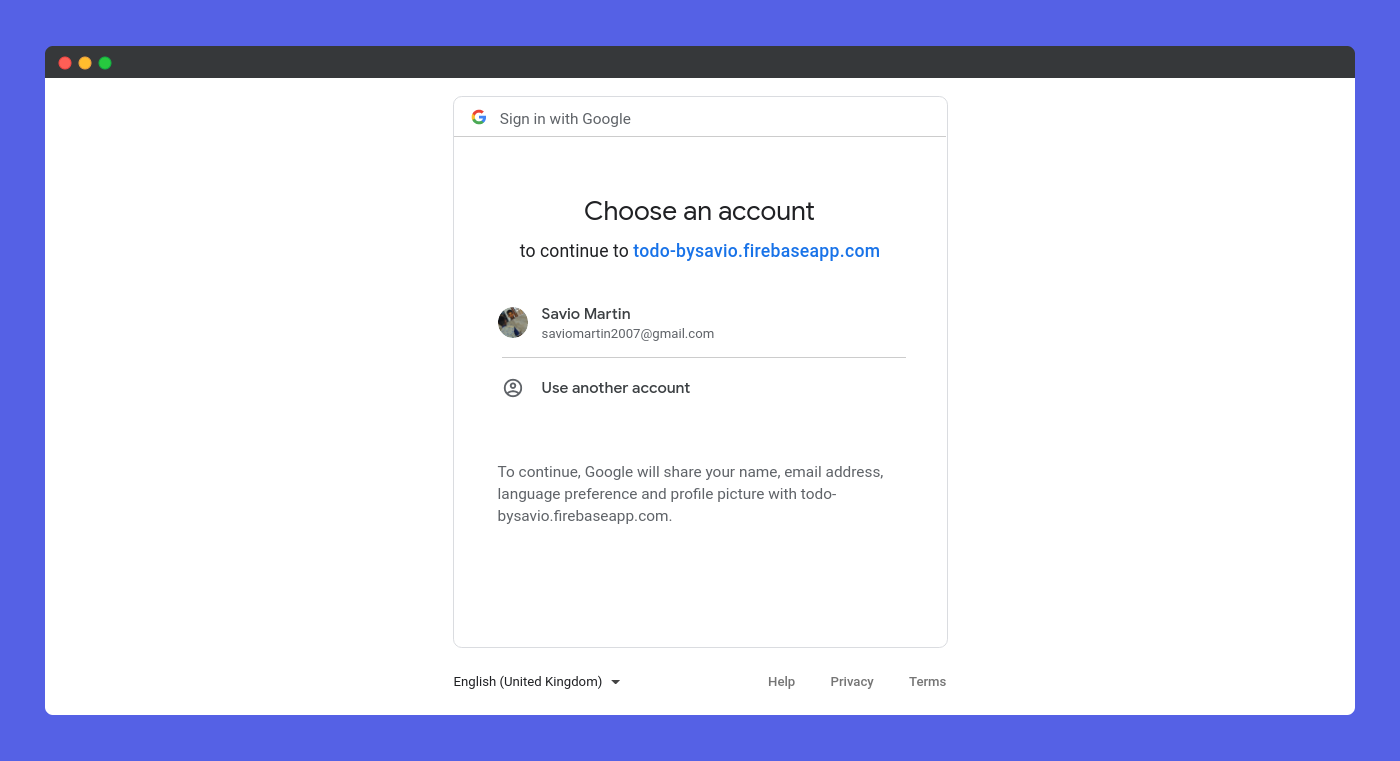 Yep! ✅️, it worked. We can see a new user up in the console.
Facebook Authentication
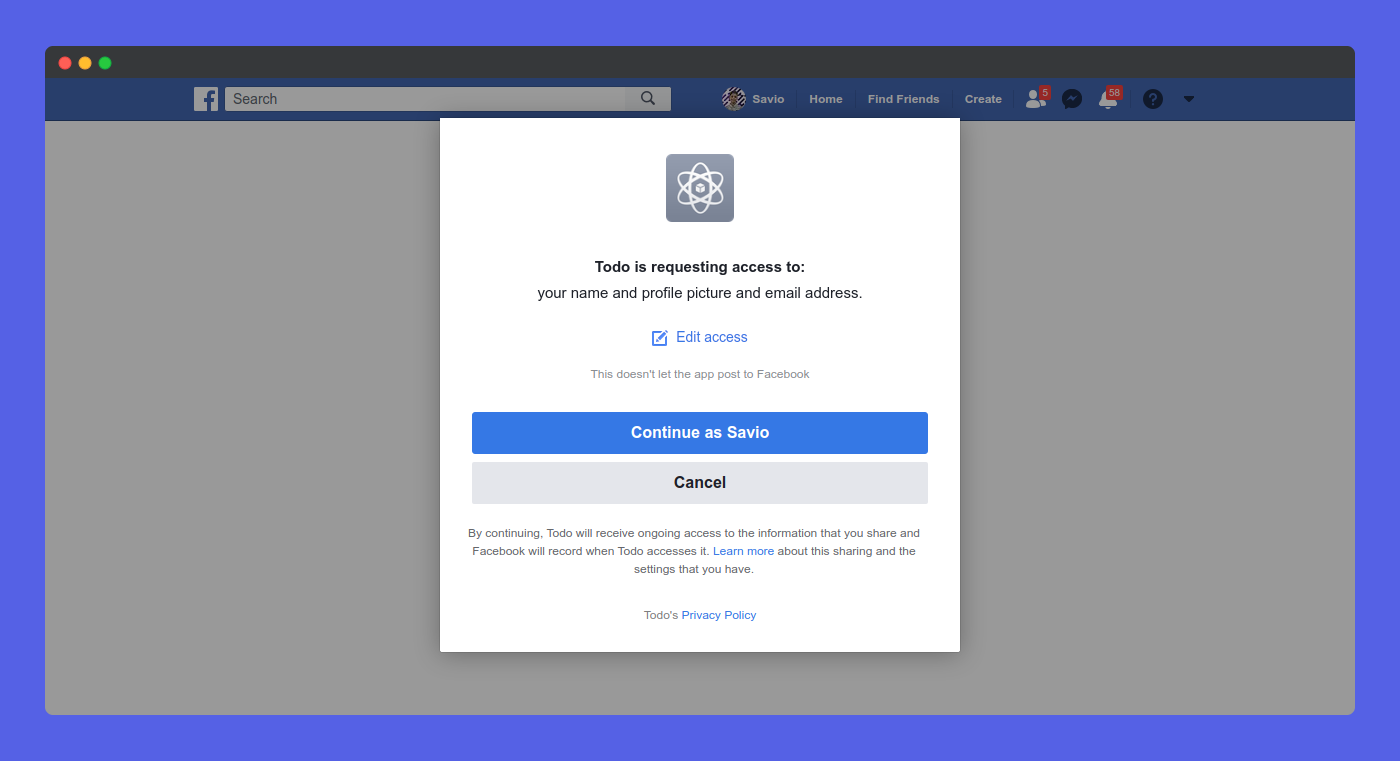 Glad it worked ✅️ Logs a long string with our user
Github Authentication
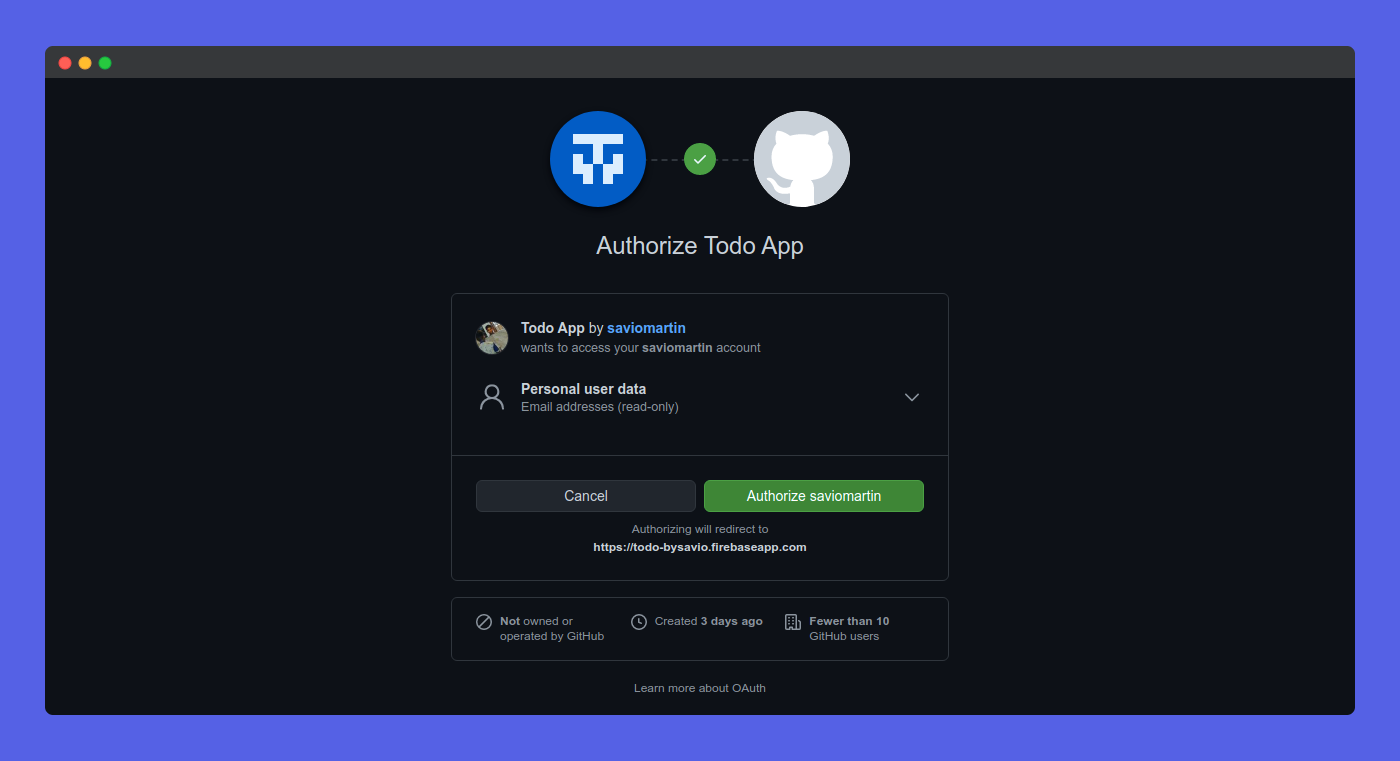 It worked really well ✅️ Everything is working as expected.
Our testing has been successfull 🎉 Great job friends, I hope you loved the blog and learned a lot!
👀 Wrapping Up
Yeah, that's a wrap. Hope you enjoyed the article. Do not hesitate to share your feedback. I am on Twitter @saviomartin7. Give a follow!
Follow me on Github @saviomartin, Don't miss my amazing projects! 💯
I hope you learned to use Unsplash API and created an image search app, now go start building amazing apps. Feedbacks are greatly appreciated! 🙌
Have an amazing day!
🌎 Lets connect
🙌 Support
My projects are fueled by coffees ☕, get one for me!